Dancify
Progress8 min read
How to make a dance progress video that's honest and motivating
A before-and-after only means something if both takes were filmed the same way. How to set up, how often to film, what to compare, which layout to use and how to put it together with any editor.
On this page
Most dancers only notice their progress by accident: an old clip turns up in the camera roll and suddenly the difference is obvious. A progress video does that on purpose. It puts your first attempt and your latest one in front of you, honestly, so you can see what changed and what still needs work.
To make a dance progress video, film the same combination the same way at regular intervals (same spot, same camera height and distance, same music and tempo, similar clothes and light), date every take, then put the first and the latest next to each other or one after the other. The consistency is what makes the comparison honest.
- Cadence: weekly while you learn a piece, monthly for technique and flexibility.
- Compare: lines, timing, musicality and stamina, one at a time.
- Layout: side by side for detail, a sequence for the story, a grid for many dates at once.
Why a progress video works, and when it lies
Progress in dance is slow and quiet. You don't feel the extra centimetre in your développé or the half count you stopped rushing, because you live with your body every day. Video doesn't have that problem. It remembers exactly how you looked in August, and it shows it to you without kindness or cruelty.
Watching yourself with a clear question in mind is also a proven way to improve. In a small study with three young competitive dancers, scoring their own videos step by step improved all three movements the researchers tracked, for every dancer.1 A progress video is the long version of the same habit.
But a progress video can lie, too. A wide lens in the first clip and a closer one in the last makes your legs look longer. A dark room then a sunny one changes how clean your lines look. A different song changes your energy. If the setup changes, you're comparing setups, not dancing. That's why the rest of this guide is mostly about doing the same thing every time.
Film it the same way every time
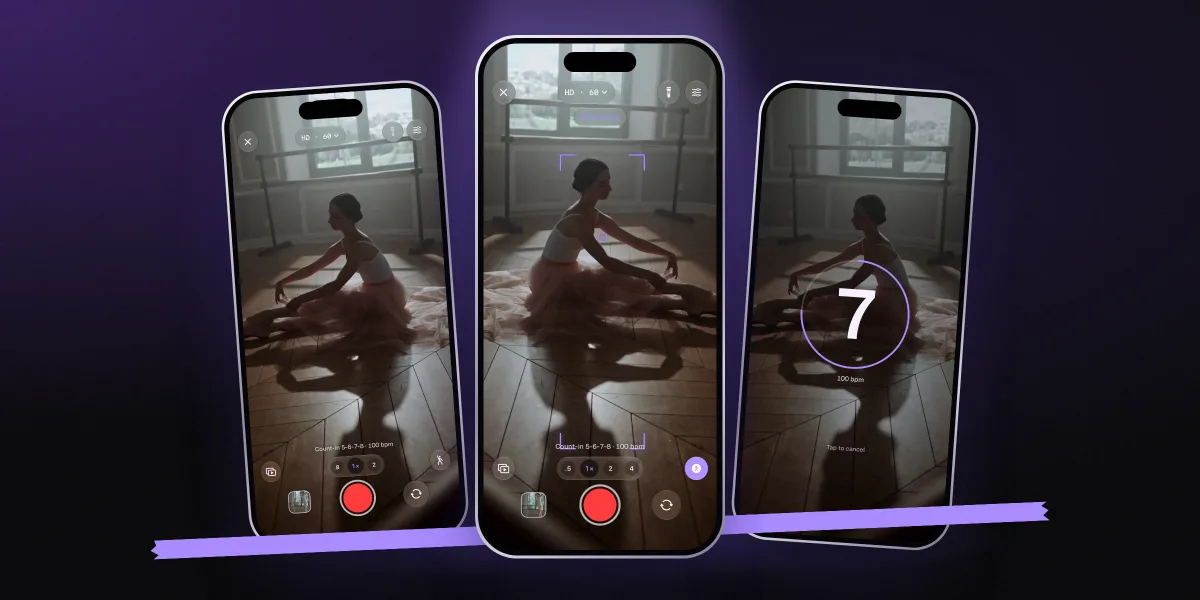
Pick one short combination, 16 to 32 counts, that shows what you're working on. Then fix everything around it. Write the setup down once, in your notes or a practice journal, so future you can repeat it.
- Same spot, height and lensTape a mark on the floor for you and one for the stand. Keep the phone at the same height (hip to chest for most styles) and on the same lens. Never mix 0.5× and 1×.
- Same music, same tempoUse the same track at the same speed. If you slowed it down to learn, film the progress take at the final tempo, or always at the same slower one.
- Similar clothes and lightFitted clothes in a colour that stands out from the wall, and the same light source. Face the window rather than standing in front of it.
- Same point in the sessionAfter a full warm-up, before you're tired. A take at minute 10 and one at minute 80 show two different dancers.
- The first honest takeDon't wait until you're "ready" for the first clip. The whole point is that it isn't good yet.
If you need help with the setup itself, our guide to filming yourself dancing covers height, distance and light for each style.
How often to film
Film too often and the clips all look the same. Film too rarely and you lose the thread. These intervals work for most dancers:
| What you're working on | Film a progress take | A good comparison span |
|---|---|---|
| Learning a new piece | Once a week, same section | First full run vs show week |
| Technique (turns, jumps, footwork) | Every two to four weeks | Three months |
| Flexibility (splits, extensions) | Once a month | Three to six months |
| Freestyle and musicality | Every two weeks, same song | A season |
| Coming back after a break or injury | Every week or two | Your first session back vs now |
Put the dates in your calendar like a class. Progress takes that depend on remembering are the first thing to slip.
What to compare between takes
"Better" is too vague to see. Watch the two clips several times, one question per viewing. Slow motion and frame-by-frame help with the first two.
| Look at | What to watch | How to check it |
|---|---|---|
| Lines and placement | Knees, feet, hips square, shoulders down, arm shapes | Pause on the same pose in both takes |
| Timing | Do you land on the count, or just after it? | Watch with the sound on, step frame by frame on the accents |
| Musicality | Dynamics, holds, texture, using the whole phrase | Watch once with your eyes closed for the music, then once without sound |
| Stamina | Is the last eight as sharp as the first? | Compare the end of both takes, not the start |
| Space and travel | How far you travel, direction changes, spacing | Use your floor marks as a reference |
| Confidence | Face, focus, breath, the moments you used to hesitate | Watch at normal speed, as an audience would |
If timing is the thing you're chasing, it helps to know exactly where the counts fall. Our guide to counting music in dance explains eight-counts and tempo.
Choose a layout: sequence, side by side or grid
-
Best for the story
Sequence
One take after another, full frame, each with its date. It reads like a short film of your progress, and it works well for sharing because every clip gets the whole screen.
Keep in mind: small details are hard to compare when the clips don't play at the same time.
-
Best for detail
Side by side
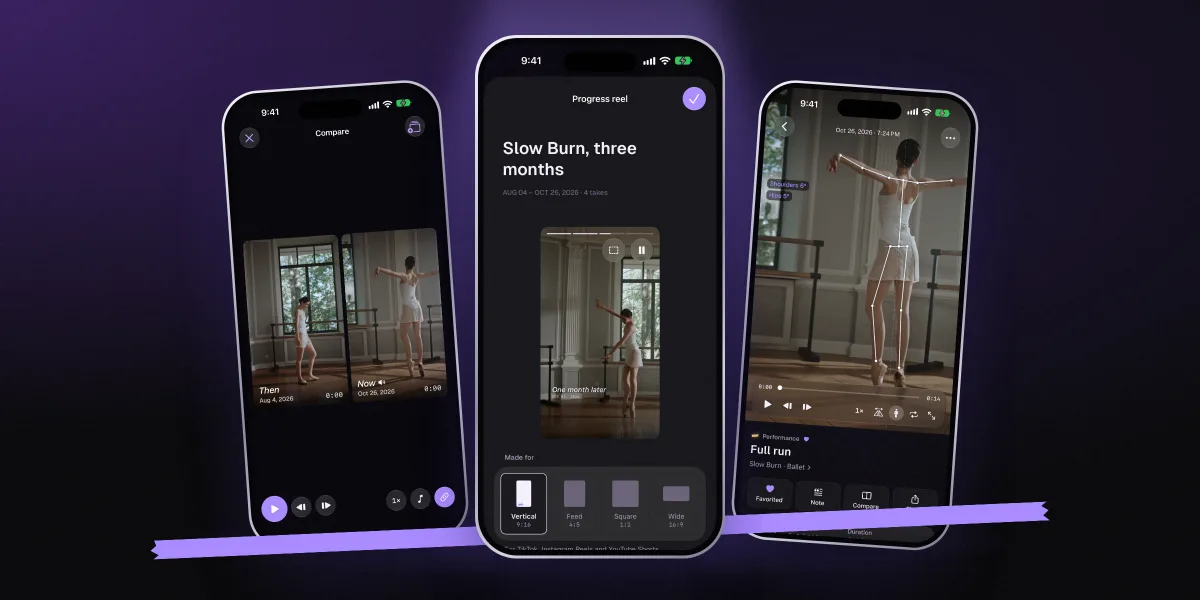
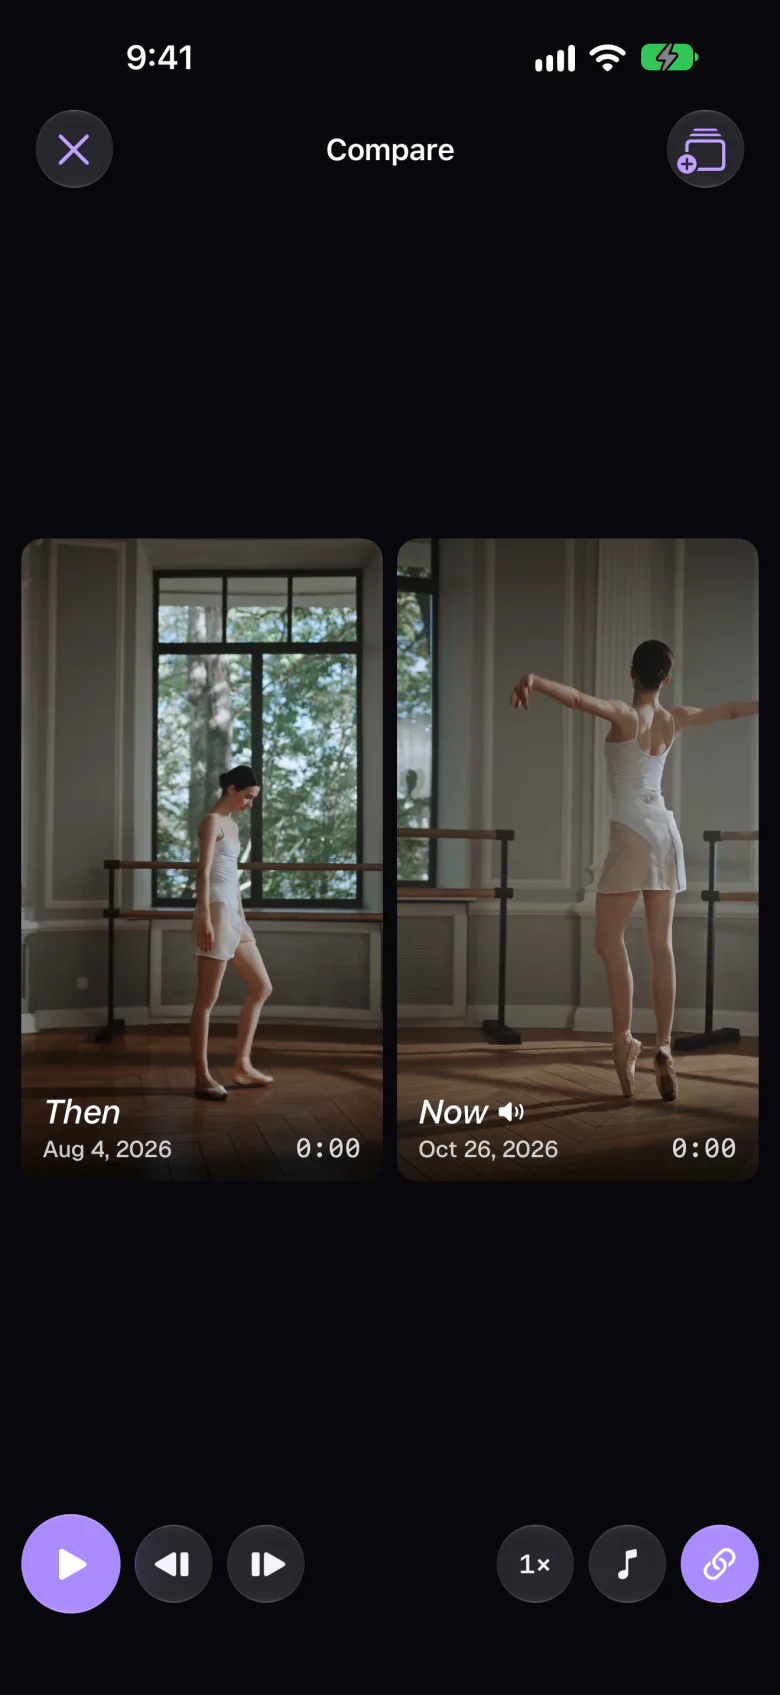
Then and now playing together. Start both on the same count and differences in timing and lines jump out. This is the one to watch with your teacher.
Keep in mind: each clip gets half the screen, so film in a way that keeps you large in frame.
-
Best for many dates
Grid
Four takes at once, for example months one to four. It shows a trend rather than a before and after.
Keep in mind: it only works if every take was filmed the same way.
How to make one with any video editor
You don't need special software. A free editor that can split the screen and add text is enough. On iPhone, Apple's iMovie can place a second clip beside the first with its Split Screen overlay, or in a corner as picture in picture.2
- Collect your takes. Find the first and the latest progress take, plus any in between for a grid. Note each one's date.
- Trim to the same section. Cut each clip so it starts on the same count. Start one count early so the first movement isn't clipped.
- Line them up. For side by side, put the older take on the left (people read left to right), add the newer one as a split-screen overlay, and nudge it until both land the first accent together.
- Keep one soundtrack. Mute one clip so the music doesn't echo. If the takes were at the same tempo, they stay in time.
- Add dates. A small caption in a corner, like "12 Aug" and "26 Oct", is enough. Labels like "Then" and "Now" help people who watch without sound.
- Export and keep the originals. Save the progress video as a new file and leave the original takes untouched, so you can make another one in three months.
Sharing it, kindly
- Share with your teacher first. A side-by-side clip and one question ("is my supporting knee better?") gets better feedback than a highlight reel.
- Ask anyone else in frame. Classmates in the background didn't agree to be in your post.
- Mind the music. Commercial tracks can be muted or blocked on some platforms. For private sharing it rarely matters.
- Keep it honest. Same setup, real dates, no speed tricks. A progress video only motivates if you believe it.
Progress is easy to miss from the inside. Two dated clips side by side make it impossible to miss.
How Dancify does it
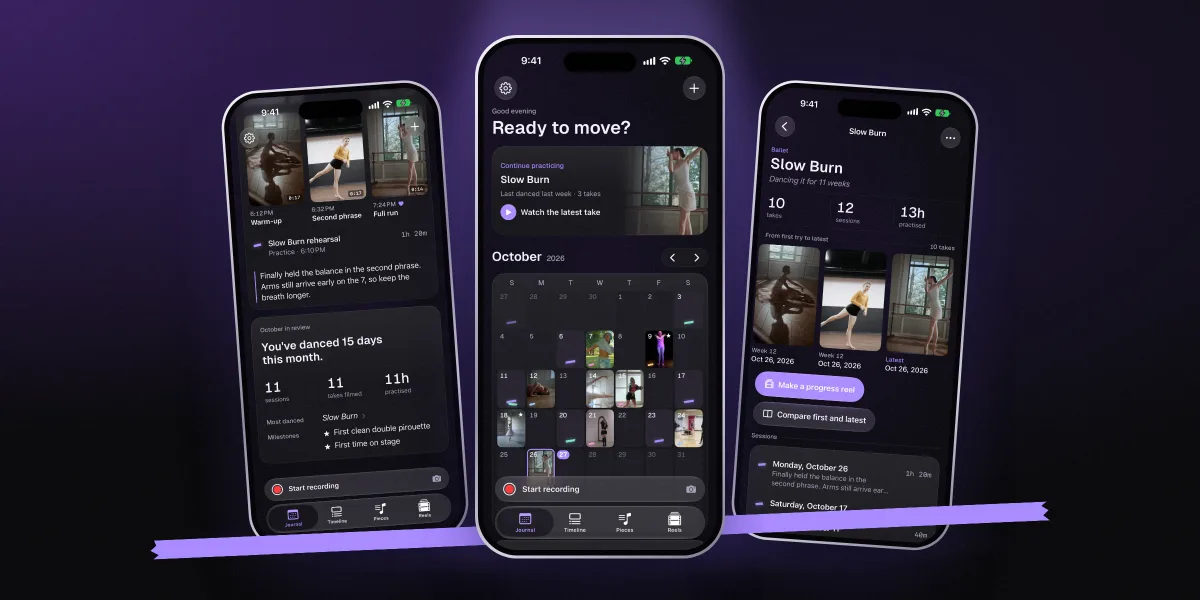
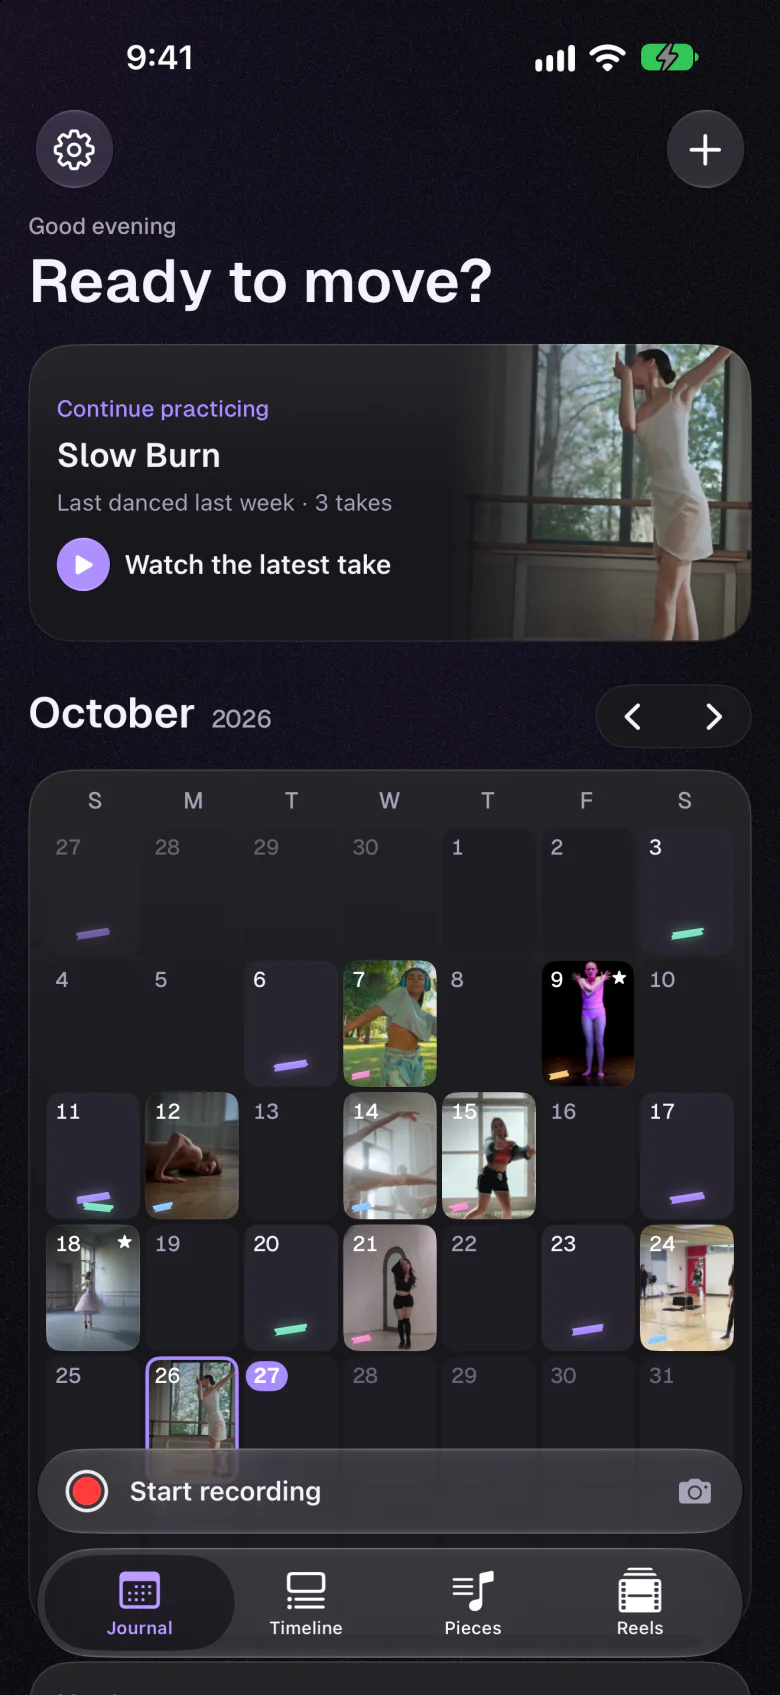
We built Dancify so that progress videos stop being a weekend project. Every take you film lands on its day in the calendar, and every take of a piece sits in order on that piece's page, so the first and the latest are always two taps apart.
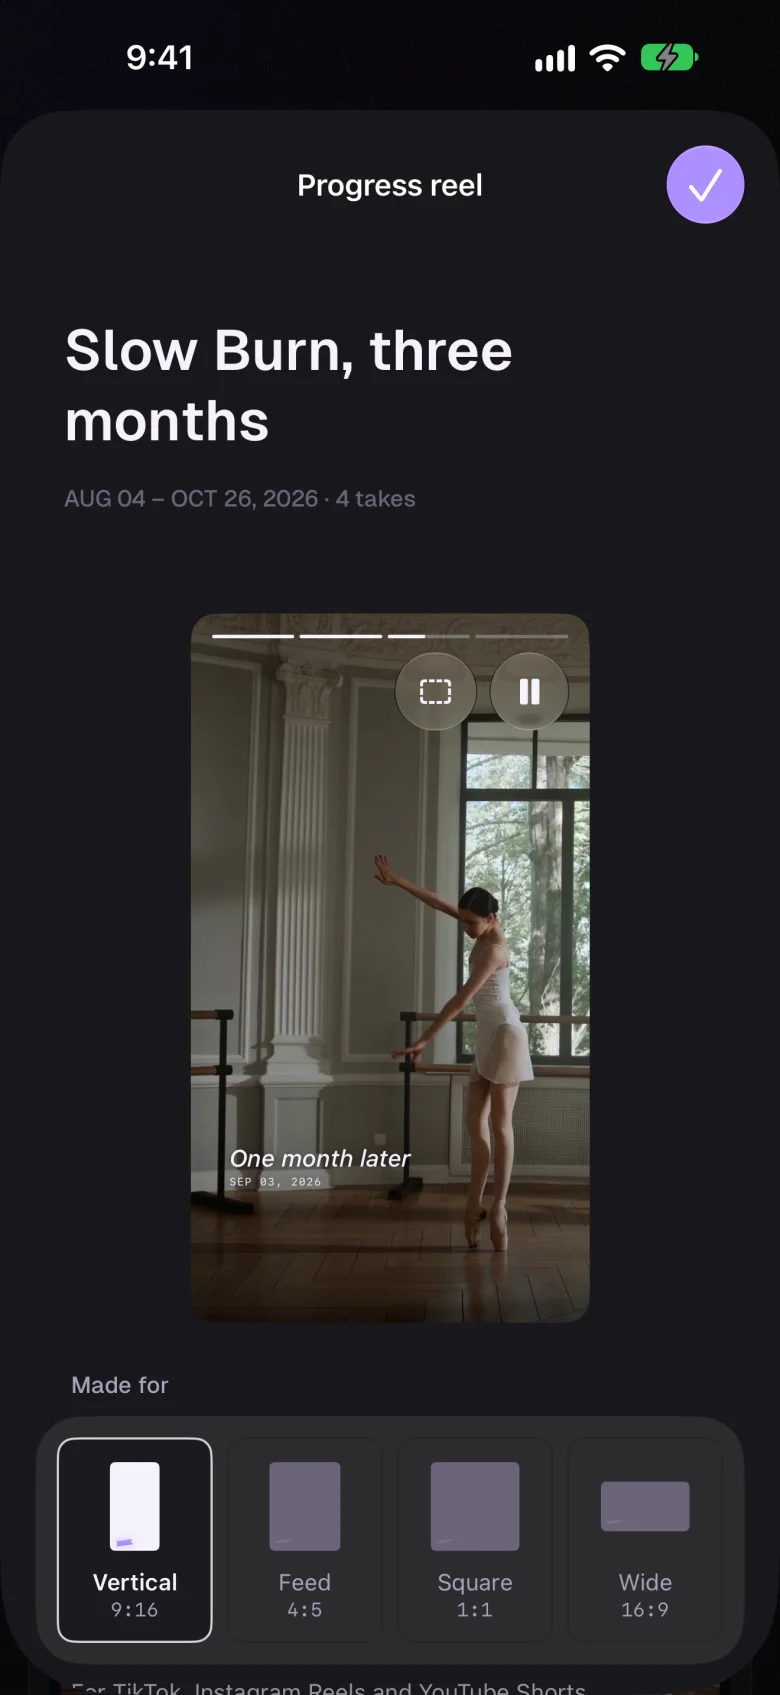
Filming, the calendar, notes and the editor are free, so you can collect progress takes for months before you decide whether you want reels and compare. Videos stay on your iPhone or iPad, or in your own iCloud if you turn sync on. There's no account and no feed.
Film one combination today
Pick 16 counts, tape your mark and record one honest take. In a month, you'll have something to compare it with.
- Every take saved to its day and piece
- Progress reels and compare with Premium
- Free editor for dates and captions
Questions, answered
How do I make a dance progress video?
Choose a short combination and film it the same way at regular intervals: the same spot, camera height, distance and lens, the same music and tempo, similar clothes and light. Date every take. Then put the first and the latest take side by side or one after the other in a video editor, add the dates and export it as a new video.
How often should I film my dance progress?
Weekly while you're learning a specific piece, every two to four weeks for technique such as turns and jumps, and monthly for flexibility. Three months is usually long enough for a technique comparison to show a clear difference.
Is side by side or before-and-after better for comparing dance videos?
Side by side is better for detail, because both takes play at the same time and differences in timing and lines are easy to see. A sequence, one take after the other, tells the story better and suits sharing. A grid works when you want to show four or more dates at once.
What should I look for when comparing two dance videos?
Look at one thing per viewing: lines and placement, timing against the counts, musicality and dynamics, stamina at the end of the combination, how you use space, and confidence. Pause on the same pose in both takes and step frame by frame through the accents.
Can I make a dance progress video for free?
Yes. Any editor that can split the screen and add text works, for example iMovie on iPhone with its Split Screen overlay. In Dancify, filming, the calendar and the editor are free; progress reel export and side-by-side compare are part of Dancify Premium.
Why does my progress video not look like progress?
Usually because something in the setup changed: a different lens or distance, different light, a different song or tempo, or a take filmed at the end of a tiring session. Fix the setup and film again; and remember that consistency, timing and confidence are progress too, even when the shapes look similar.
Sources
- Giambrone J, Miltenberger RG (2020). Using video self-evaluation to enhance performance in competitive dancers. Behavior Analysis in Practice 13(2), 445–453. Checked 2026-11-04. pmc.ncbi.nlm.nih.gov
- Apple Support: Add video overlay effects (split screen, picture in picture) in iMovie on iPhone. Apple. Checked 2026-11-04. support.apple.com