Dancify
Filming9 min read
How to film yourself dancing: angles, light and setup
The run felt clean, then the video showed bent knees and cropped feet. Here's how to set up a phone so it shows what matters: height and distance for each style, light, sound, stands and what to film.
On this page
- Why film your practice at all?
- Set up in five minutes: step by step
- Camera height and distance by dance style
- Which angle: front, side or behind?
- Light, frame rate and sound
- Phone stands that actually work
- What to film in each practice
- Six mistakes that ruin dance videos
- How Dancify helps
- Questions, answered
Every dancer knows the moment: the run felt clean, then the video shows a bent supporting knee, a late arm and feet that never quite pointed. Filming yourself is the most honest teacher you'll ever have, as long as the camera is set up to show what matters. Here's how to do it well with nothing more than a phone.
To film yourself dancing, put your phone on a stand at about hip to chest height, 3 to 5 metres away, in landscape, so your whole body fits with space above your head and below your feet. Face a window or lamp rather than standing in front of it, lock focus and exposure on yourself, play the music out loud so the timing is in the take, and film from the same spot every time.
- Height: hip height for ballet and heels, chest height for hip-hop and K-pop, knee height for tap, Irish and floor work.
- Framing: head to toe plus the space you travel in. Cropped feet hide half of what you came to check.
- Light: in front of you or to the side, never behind. Backlight turns you into a silhouette.
Why film your practice at all?
The mirror shows you one angle, live, while you're busy dancing. Video shows you every angle you choose, afterwards, when you can actually look. You can slow it down, watch the feet only, then watch the arms only, and see the same eight-count ten times without getting tired.
It works, too. In a small study with three competitive dancers, watching and scoring their own videos against a checklist improved every move the researchers tracked, and the dancers found the method easy to keep up.1 Three dancers isn't a big sample, but anyone who has taught with a camera in the room will recognise the result: people correct what they can see.
Set up in five minutes: step by step
- Clear and mark your space. Decide where "front" is and put a small piece of tape on the floor where you start. Every take from the same mark makes takes comparable weeks later.
- Choose the orientation. Landscape for practice: it gives you room to travel sideways and keeps your feet in frame on a jump. Portrait only when you're making a vertical video for social media, or for a K-pop cover filmed like a fancam.
- Set the height. Roughly the middle of your body. Too high (a phone on a shelf looking down) shortens your legs and hides your lines; too low exaggerates jumps but distorts your head. See the table below for each style.
- Step back to frame head to toe. Stand on your mark, raise your arms, then do your biggest travelling step. You should stay in frame with a little space above your fingertips and below your feet. In most living rooms that means 3 to 5 metres, or the 0.5× wide lens if you can't go back further.
- Fix the light. Face the window or put a lamp behind the camera. Turn off any light that shines straight into the lens.
- Lock focus and exposure on you. On an iPhone, press and hold on yourself in the preview. Otherwise the camera keeps refocusing on the sofa every time you turn.
- Play the music out loud. Put the speaker near the phone so the recording carries the beat. Without music in the take, you can't check your timing later.
- Record a ten-second test. Watch it back once before the real take. It's the cheapest fix there is.
Camera height and distance by dance style
Every style has something it needs to see. Start here, then adjust for your room.
| Style | Camera height | Framing | What to check |
|---|---|---|---|
| Ballet | Hip height | Full body, feet clearly on the floor; a second take from the side for arabesques | Turnout, pointed feet, supporting knee, hips square |
| Contemporary and floor work | Knee to hip height | Wide (0.5×), extra floor in front of you | Transitions to and from the floor, use of weight |
| Hip-hop and commercial | Chest height | Full body with room to travel; landscape | Grooves on the beat, hits, levels, clean stops |
| K-pop covers | Chest height | Centred, front-on like a stage camera; portrait is fine | Formation spot, angles of arms, facial expression |
| Heels | Hip height, slightly low | Full body including shoes | Ankle stability, lines, walks |
| Salsa, bachata, ballroom | Chest height | Both partners head to toe, 4 to 6 metres back | Frame, footwork timing, connection |
| Tap and Irish | Knee height | Full body, but the feet are the priority; mic near the floor | Clarity of sounds, ankle work, timing |
Heights are starting points. Whatever you choose, write it down and reuse it, so every take is filmed the same way.
Which angle: front, side or behind?
Front is the default because it's how an audience sees you. But it hides depth: an arabesque that looks high from the front can be dropping at the hip, and a lunge can be hanging over the knee. Use a few angles on purpose:
- Front: formations, facings, arms, expression. Your main take.
- Side (90°): posture, alignment, how high a leg really is, how deep a plié really goes.
- Front corner (45°): the most flattering and most honest at once, great for showcase runs.
- From behind: when you're learning from a video, filming from behind means you and the teacher face the same way, so left is left.
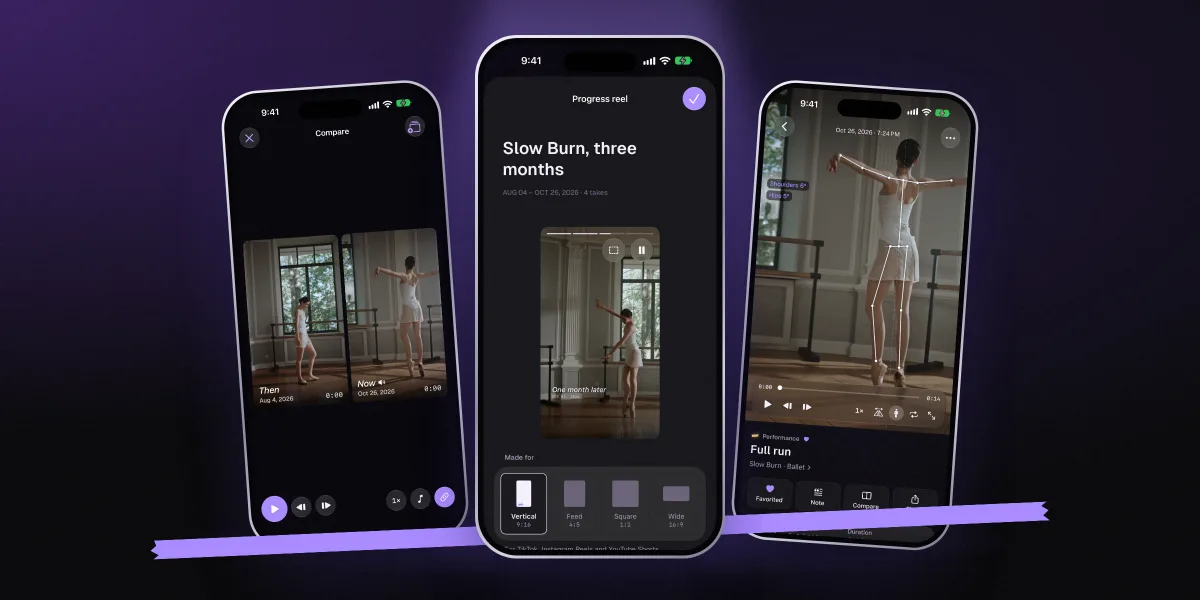
If you want to compare your progress later, pick one angle as your "record" angle and never change it. Same spot, same height, same lens. Our guide to making a dance progress video explains why that consistency matters more than anything else.
Light, frame rate and sound
Light. Daylight from a window in front of you or at 45° is the best free light you have. Overhead lights alone put shadows in your eyes; one lamp behind the camera fixes most of that. If you film at night, switch on every light in the room, because a dim room means a grainy, blurry video.
Frame rate. 30 fps is fine for most practice. Film at 60 fps for turns, jumps and fast footwork, so a slowed-down replay stays smooth. True slow motion (120 or 240 fps) needs a lot of light and isn't worth it for a full run; save it for checking one jump or one turn.
Sound. Play the music from a speaker next to the phone, not from earbuds. For tap and Irish, the sound is the dance: keep the phone closer and lower, and the music a little quieter, so the taps cut through.
Phone stands that actually work
A simple tripod
- Great for
- Repeatable height. Look for one that reaches at least 1.5 metres, with a phone clamp that holds landscape firmly.
- Watch out
- Lightweight legs wobble on sprung floors when you jump. Spread the legs wide.
A motorised stand
- Great for
- Travelling choreography. Stands that work with Apple's DockKit turn to keep a person in frame.2
- Watch out
- It follows one person. In a duet or a group, frame wide and keep it still.
No stand at all? A bookshelf with the phone propped against a stack of books works, as does a chair on a table. Just check the height again, and tape the spot so you can find it next time.
What to film in each practice
Filming everything means watching nothing. A simple rhythm that works for most dancers:
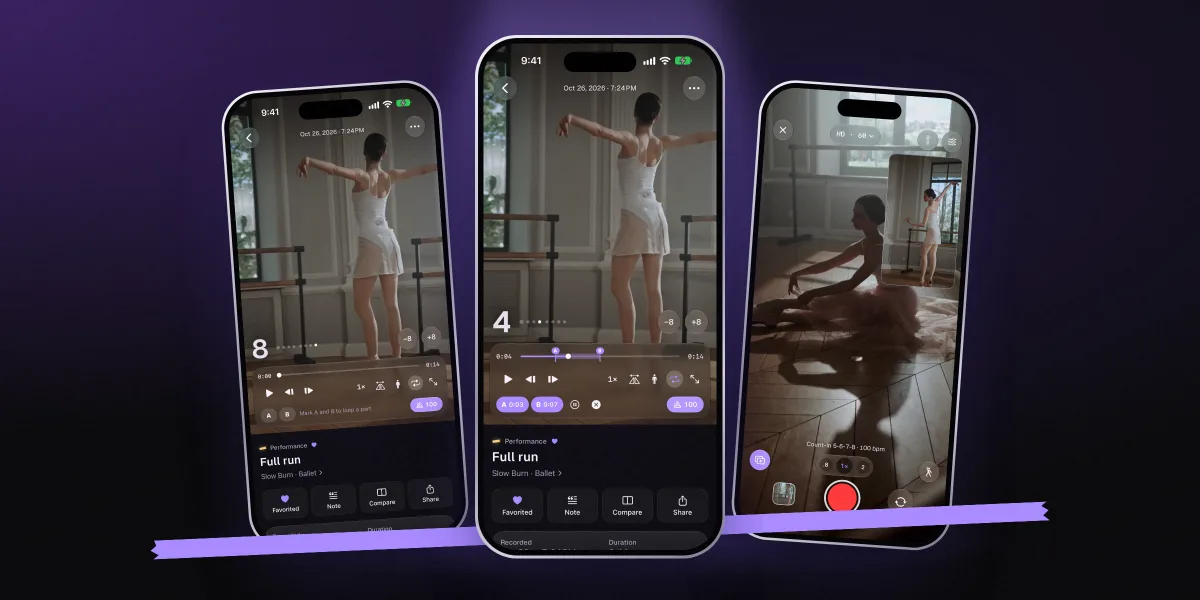
- One full runFrom the top, with music, at performance energy. This is your record of the day.
- One problem sectionThe eight-counts that keep going wrong, filmed two or three times, so you can see if the fix is working.
- One noteA sentence about what you noticed. It's the start of a dance practice journal, and it's what makes a pile of videos useful.
If you're still learning the piece, filming the section you just learned is the fastest way to find out what you actually remember. More on that in how to learn choreography faster.
Six mistakes that ruin dance videos
- Cutting off the feetThe most common one. Step back or switch to the wide lens until there's floor below your toes.
- Standing in front of a windowThe camera exposes for the bright window and you go dark. Turn around so the window lights you.
- Zooming in digitallyPinching past the lens you're on makes the picture soft. Move the phone closer instead.
- Filming without musicWithout the beat in the take, you can't check timing, which is half of what you need to see.
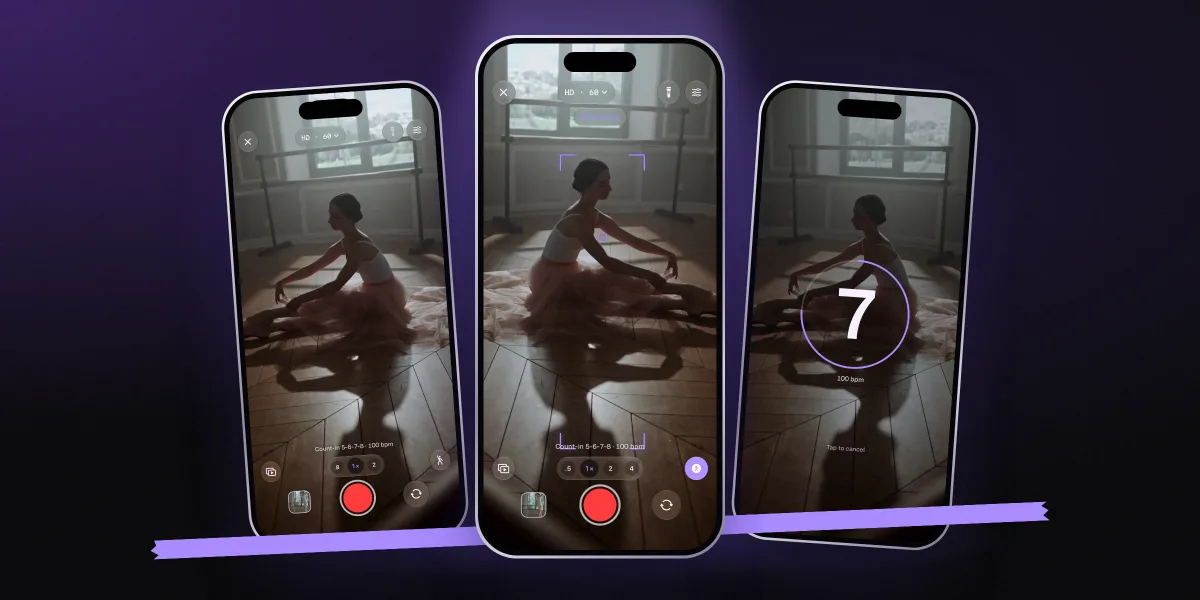
- Rushing to your markHitting record and sprinting back gives you a messy first eight. Use a count-in or a timer.
- Changing the setup every timeNew angle, new height, new room: you can't compare the takes. Keep one setup as your record.
How Dancify helps
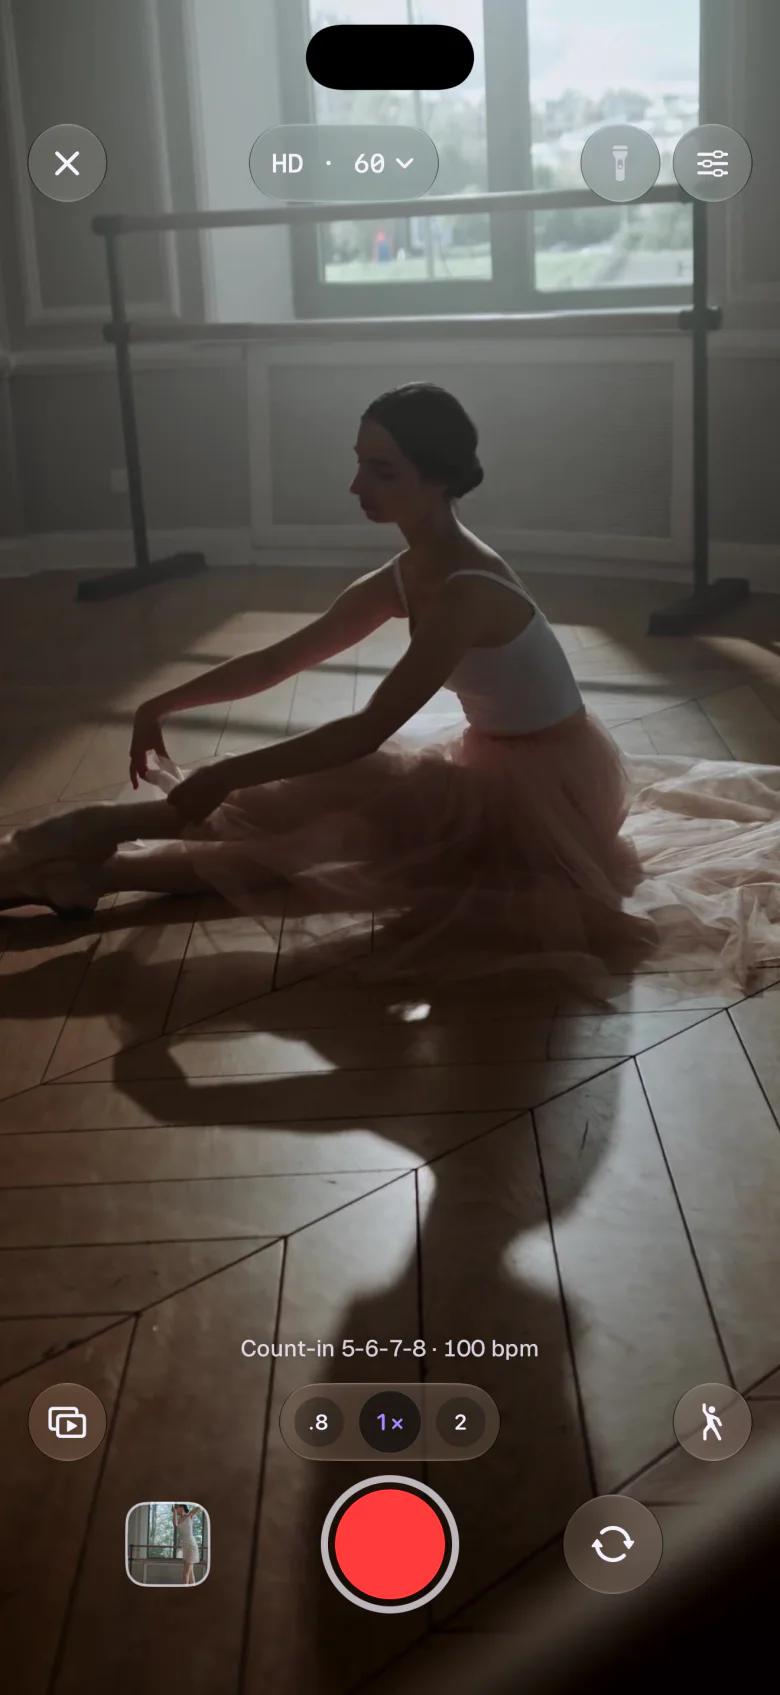
We built Dancify's camera for exactly this, because the standard camera app wasn't made for someone who has to run to a mark across the room.
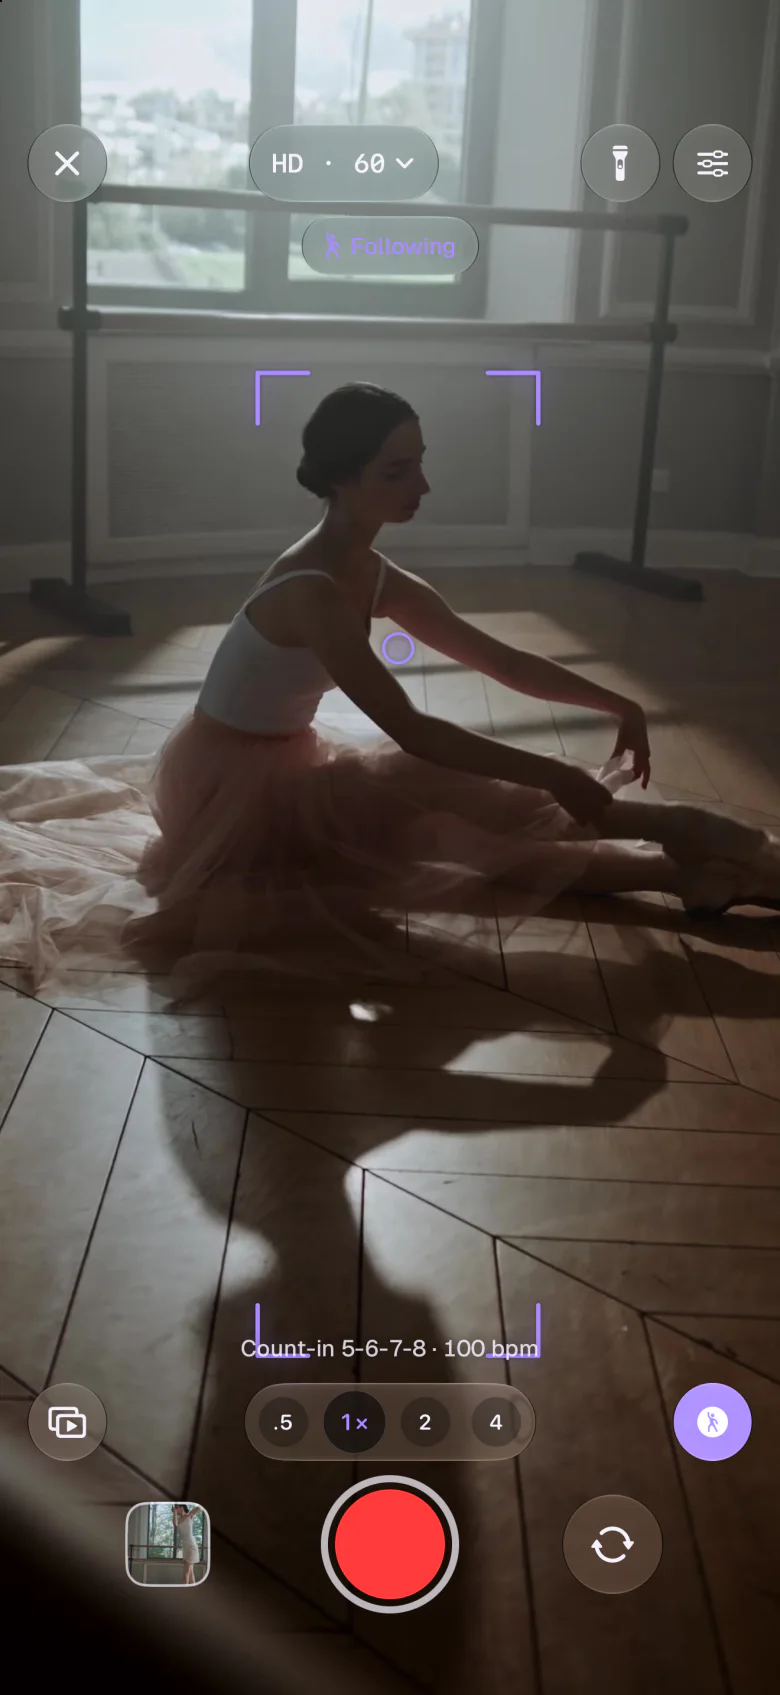
- HD or 4K, 30 or 60 fps, slow motion at 120 or 240 fps
- Mirror, grid and level, auto-stop, record with the volume buttons
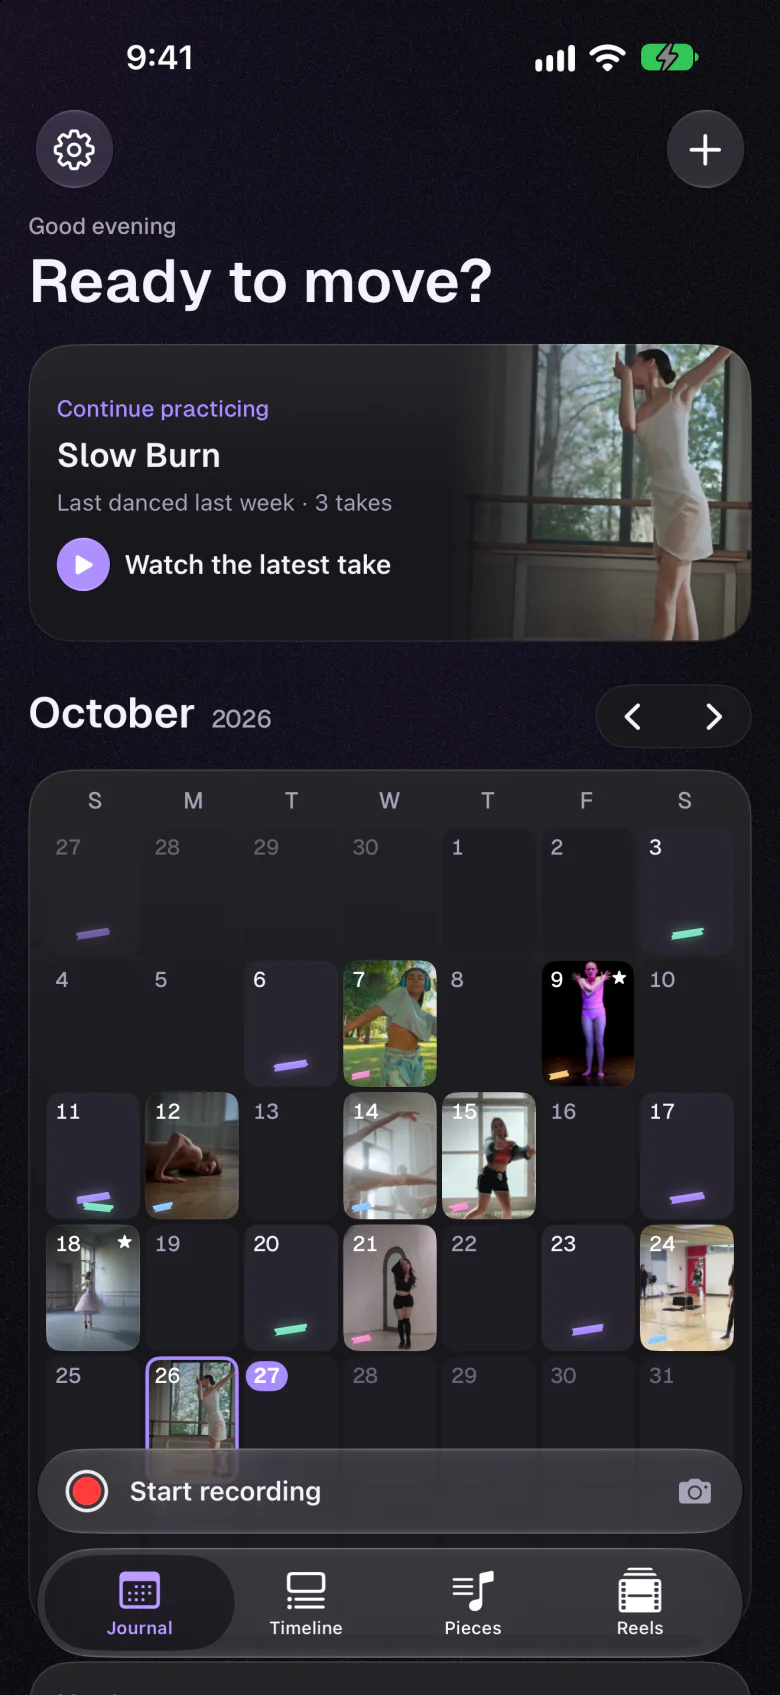
You can also play a reference video, your teacher's or your own earlier take, picture-in-picture or side by side while you film, starting on the count-in's downbeat. Every take lands on that day in your calendar, so the videos become a diary instead of a camera roll. Recording, the calendar and the editor are free; videos stay on your device, or in your own iCloud if you switch sync on.
Set up once, then just dance
Dancify gives you a count-in, Follow and a calendar of every take, on iPhone and iPad. No account, no feed.
- Count-in so you reach your mark
- Follow keeps focus on you as you move
- Every take saved to its day
Questions, answered
What is the best angle to film yourself dancing?
Straight on from the front, with the phone at about hip to chest height, is the best main angle because it's how an audience sees you. Add a side angle now and then to check posture and the real height of your legs, and film from behind when you're learning from a video so left and right match.
How far away should the camera be when filming dance?
Usually 3 to 5 metres for one dancer, and 4 to 6 metres for a couple. The test is simple: on your mark, with your arms up and on your biggest travelling step, you should stay in frame with space above your hands and below your feet. If the room is too small, use the 0.5× wide lens and stay near the centre of the frame.
Should I film dance videos in portrait or landscape?
Landscape for practice, because it leaves room to travel and keeps your feet in frame. Portrait is fine for videos made for social media, or K-pop covers filmed front-on like a fancam, as long as your whole body fits.
How do I film myself dancing without a tripod?
Prop the phone on a bookshelf against a stack of books, or on a chair placed on a table, so it sits at about hip to chest height. Lean it back slightly, check the framing with a short test, and mark the spot with tape so you can set up the same way next time.
What frame rate should I use to record dance practice?
30 fps is fine for most practice. Use 60 fps for turns, jumps and fast footwork so slowed-down replays stay smooth. Save 120 or 240 fps slow motion for checking a single jump or turn, in good light.
Does watching videos of yourself really improve your dancing?
It helps you see what you can't feel. In a small study of three competitive dancers, scoring their own videos against a checklist improved every move that was tracked. Video works best alongside a teacher's feedback, not instead of it.
Sources
- Giambrone J, Miltenberger RG (2020). Using video self-evaluation to enhance performance in competitive dancers. Behavior Analysis in Practice 13(2), 445–453. Checked 2026-11-04. pmc.ncbi.nlm.nih.gov
- Apple Developer Documentation: DockKit, interacting with motorised stands that track subjects on camera. Apple. Checked 2026-11-04. developer.apple.com